Hive Management
How to Inspect a Beehive Step by Step
Quick Answer
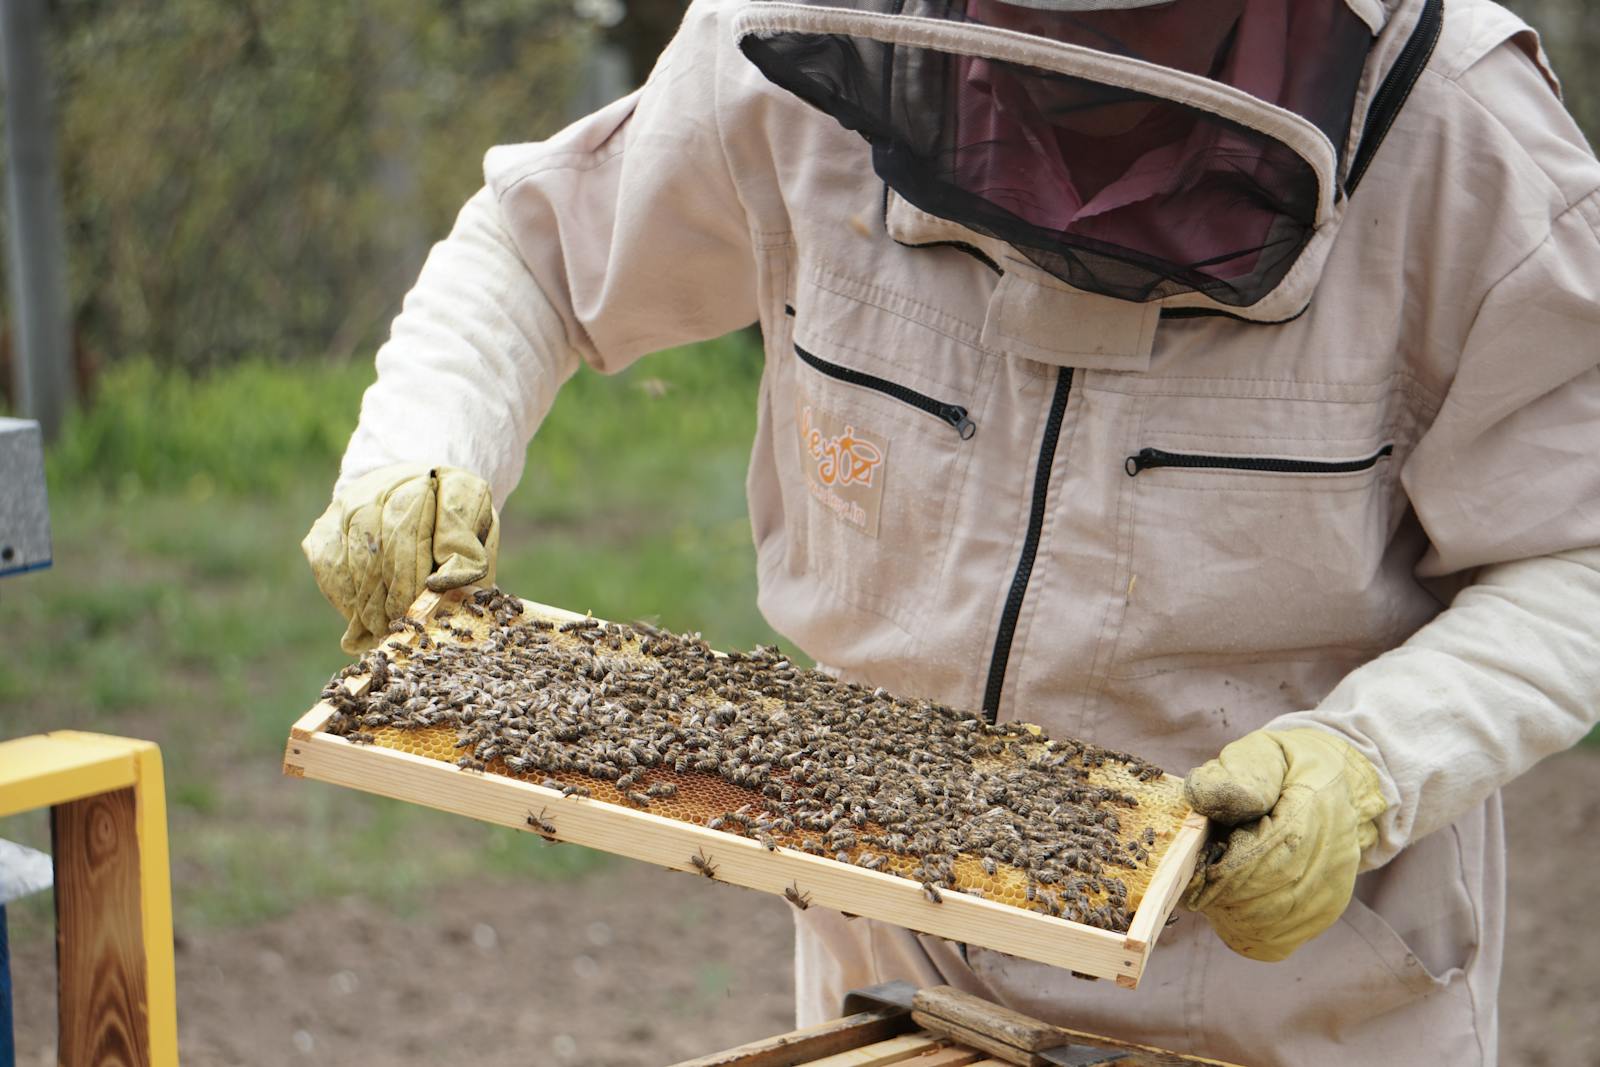
Hive inspections should answer specific questions without keeping the colony open longer than necessary. A good beginner inspection checks queen signs, brood pattern, food stores, space, pests, and temperament, then ends with clear notes for the next visit.
Practical Takeaways
Before opening the hive, decide the purpose of the inspection. Are you confirming eggs? Checking food? Looking for swarm cells? Monitoring mite pressure? A clear purpose prevents the common beginner habit of pulling every frame just because the hive is open.
Work from the outside frames toward the brood nest, keep frames over the box, and watch for the queen before shaking or brushing bees. If you see eggs, larvae, capped brood, adequate stores, and normal temperament, you often have enough information to close the hive.
Your inspection kit should be simple: lit smoker, hive tool, protective gear, notebook or phone notes, and any feeder or treatment equipment already planned. Do not decide major interventions while rushed at the open hive.
Inspection Sequence Table
| Step | What to check | Close the hive if |
|---|---|---|
| Entrance | Traffic, pollen, dead bees | Activity looks normal for weather |
| First frames | Food stores and space | Stores are adequate |
| Brood nest | Eggs, larvae, capped brood | Queen signs are clear |
| Pest check | Mite plan, beetles, wax moth signs | No urgent issue appears |
| Notes | Next action and date | You know what to do next |
Field Notes for Beginners
Inspection timing changes with season and colony condition. Spring buildup may need closer checks, while cold, rainy, or nectar-dearth conditions call for shorter, more purposeful visits.
Work calmly and keep your inspection goal narrow. If the task is equipment setup, finish setup. If the task is a queen check, confirm eggs, larvae, brood pattern, or queen presence and close the hive. Long open-hive sessions teach beginners bad habits because they reward curiosity more than colony stability.
Equipment and Safety Considerations
Protective gear should let you move steadily, see clearly, and close cuffs without gaps. Smokers need dry fuel and a cool, steady smoke. Hive tools should be simple enough to clean. Anything electrical, including bee venom collection equipment, deserves extra caution around moisture, exposed leads, and agitated bees.
If you are buying gear, look for replacement parts, cleanable surfaces, and dimensions that match your hive style. Saving money on a tool that does not fit your boxes often costs more during the first season.
How This Connects to the Rest of Your Apiary
This article sits inside a larger beginner plan. Read the spring beekeeping checklist, how treat varroa mites complete guide guides next, and keep the broader hive management category bookmarked while you build your seasonal checklist.
Internal linking matters for readers too. A beekeeper researching equipment also needs hive placement, inspection timing, and Varroa monitoring. A beekeeper researching bee venom collection needs colony health, safety, storage, and market reality before plugging in a collector.
Common Mistakes
The first mistake is treating a single article as a complete education. Beekeeping is local, seasonal, and biological. Use written guides as a map, then verify with your state extension office, local club, and what your own colonies show you.
The second mistake is buying specialized equipment before the basic workflow is stable. If you cannot inspect efficiently, recognize brood stages, and monitor mites, delay advanced projects until your hive management is reliable.
The third mistake is ignoring small discomforts. Gloves that prevent dexterity, a smoker that goes out every ten minutes, or a collector that is hard to clean will change how often you do the right work.
Buying and Timing Notes
Most beginner purchases should be timed around the next real hive task, not around a sale calendar. Buy protective gear before bees arrive. Buy feeding equipment before nectar gaps. Buy extraction tools after the colony has enough surplus to justify harvest planning. Buy advanced equipment, including venom collection devices, only after your inspection rhythm is reliable and you understand normal colony behavior.
If a tool touches bees directly, judge it by control and cleanup as much as price. A cheap tool that is difficult to sanitize, hard to inspect, or awkward to remove from a hive often creates more risk than it saves. For affiliate-linked recommendations, compare current prices, shipping time, return policy, replacement parts, and whether the seller provides real specifications rather than vague product copy.
Safety and Welfare Check
Every beekeeping decision has a colony welfare side. Smoke should be cool, inspections should be purposeful, and manipulations should match weather and colony strength. Bee venom collection adds another layer because the equipment intentionally stimulates bees. That does not make the practice automatically wrong, but it means the beekeeper must be more conservative about frequency, season, colony condition, and personal allergy risk.
For beginner beekeepers, the best safety rule is to stop before the hive becomes defensive or before you become rushed. Close the colony, write notes, and come back with a clearer plan. Consistency is more valuable than forcing one long session to answer every question.
What To Do Next
Turn this guide into one concrete next action. If you are planning a first hive, price the equipment list and call your local association. If you already have bees, schedule the next inspection and write down the exact question you need to answer. If you are researching bee venom collection, read several safety-focused sources before comparing collectors or contacting buyers.
Source Notes
The recommendations here are grounded in extension-style beginner guidance and established bee health resources, then adapted for practical backyard and small-apiary use.
Bottom Line
How to Inspect a Beehive Step by Step is easiest to understand when you connect it to bee health, time, and repeatable routines. Choose tools that make careful work easier, schedule inspections before problems become emergencies, and keep safety ahead of production goals.